Archives for sides

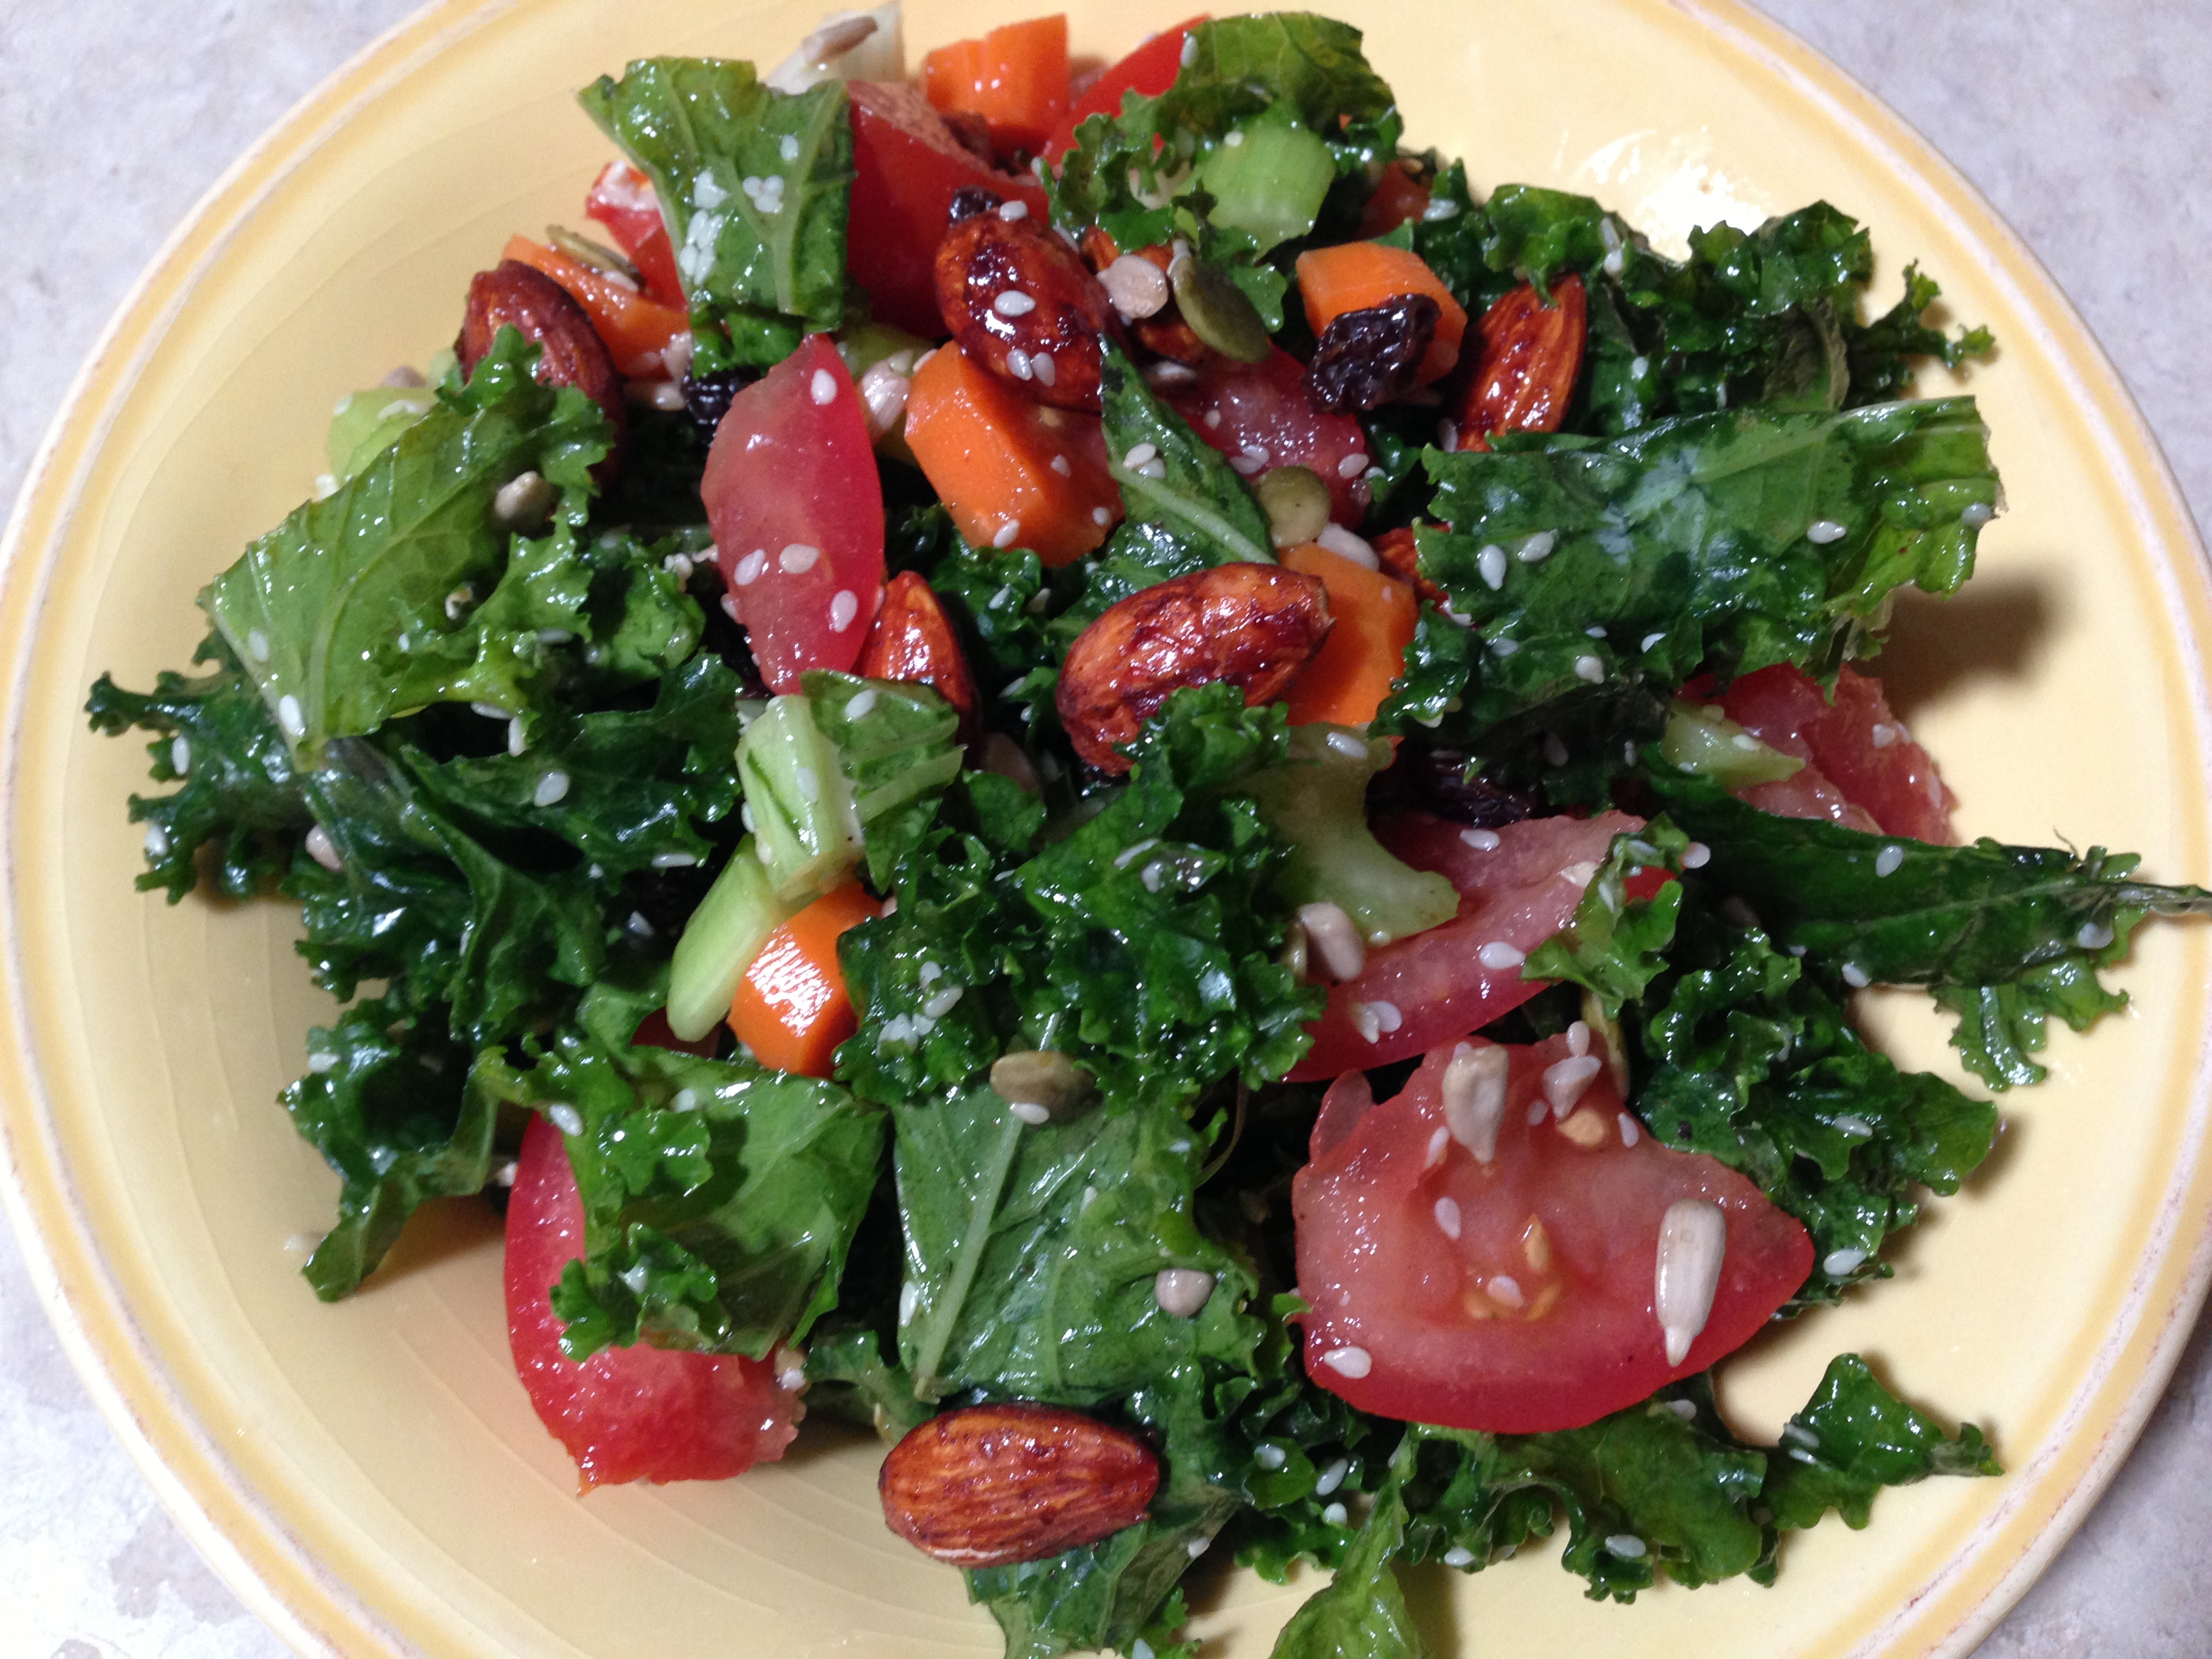
Kale and Toasted Almond Salad

Please forgive the lack of photos for this one, but I didn’t intend on posting it! I was making myself lunch one day while working from home and was in a hurry! It turned out SO GOOD that I knew it had to go on the blog. Plus, I promised a fellow Tweeter/Blogger/Runner/InstaGrammer that I would post it! This one’s for you RunEMZ! Sorry it has taken me so long RunEMZ, and sorry to my blog subscribers that it has been SO long since I’ve posted anything food related! It has been one long and crazy week in the Zucchini Runner household… but more on that another time!

Today Mr. Zucchini Runner and I are heading out to dinner for our anniversary and I am EXCITED! We are going to a fancy place that might require some dressing up, but I doubt it. This is AZ and it IS 1,034°F outside.

IMG_2144

Speaking of weather that makes your face melt off, use this salad to stay cool this Summer! (I used my toaster oven for the almonds, but you could even skip toasting them if you want. They really aren’t the star of the salad anyway…:)

Salad Ingredients
6 cups chopped kale (I used curly kale)
2 medium celery stalks, finely chopped
2 tomatoes on the vine, deseeded and chopped
4 small carrots, peeled and cut
2 tbsp dried, tart cherries
2 tbsp raw pepitas
2 tbsp sesame seeds
2 tbsp sunflower seeds
1 batch toasted almonds (recipe below)

Dressing
2 tbsp apple cider vinegar
1 tbsp grapeseed oil
1 tbsp maple syrup
Juice from one small lime
Salt and black pepper, to taste

Simply combine all the above ingredients into a large salad bowl and toss. For the dressing, combine in a small bowl or container with a lid and either stir or shake to incorporate. Pour over salad and toss well to cover every square inch of the kale. 🙂 You can make this up to 24 hours before you will eat it, since kale is so sturdy and won’t really break down with the dressing on it.

Toasted Almonds
1/2 cup raw almonds
1 tablespoon maple syrup
½ teaspoon grapeseed oil
1/4 tea cinnamon
Dash cayenne pepper
Few dashes salt

Preheat oven to 375°

Combine the almond ingredients in a small dish and stir until incorporated. Pour over raw almonds and toss to coast evenly. Line a baking sheet with parchment paper and place coated almonds in a single layer on the covered pan. Bake for 7-9 minutes, checking frequently. Nuts can burn very quickly, so it’s better to pull them sooner than you think! They will continue to cook slightly after they are removed. Sprinkle over salad and enjoy!

I invite other bloggers to share a link to their favorite Summer salad below in the comments. I’m all about sharing the love and spreading the word. Have a great week everyone!
IMG_2145

Quinoa Balls with Lettuce, Apples and Carrots | Drizzled with Balsamic Glaze

My brain has been overflowing lately with recipe ideas. I started jotting them down in a notebook that I carry with me everywhere and it seems to be helping. My perpetual problem however, is the lack of productive hours in a day in which to make these recipes come to life. If the body didn’t need sleep, I’d be GOLDEN. But alas it absolutely DOES need sleep and I don’t buy into the YOLO (you only live once) and ISWID (I’ll sleep when I die) acronyms the “kids” are using these days. So, unless I invent some cool way to be productive with no sleep at all, I’ll have to simply keep my eye on my 2013 goal.

BE EFFICIENT!

As I discovered at the start of 2013, I cannot simplify – it is not in my DNA and it just doesn’t feel RIGHT. There is only one life we live and I want to live mine to the fullest and be as happy as I can be; which includes learning as much as I can, sleeping as much as I need to, and experiencing as much as I can. So, in my pursuit of a full and productive life I strive to be more efficient! One of the ways I’ve learned to do this, is to tuck recipes away in the DRAFTS section of my blog so I can pull them out of my back pocket when those pesky too-full days (or weeks) pounce on me! So without further ado, here is an oldie but goodie from the Zucchini Runner draft vault.

Added some diced apples

Quinoa Balls with Lettuce, Apples and Carrots drizzled with Homemade Balsamic Glaze

3/4 c. dried, rinsed quinoa
1 1/2 c. water
1 medium onion, chopped into small pieces
2 cloves garlic, pressed
1 medium tomato, diced small
2 tbsp. tomato paste
Chopped fresh thyme to taste
Salt and freshly ground black pepper
2 tbsp. almond meal
2 tbsp. ground flax meal + 6 tbsp water (flax egg)
1/3 c. fresh parsley, chopped

Balsamic Glaze (optional)
1 cup balsamic vinegar
2 tbsp maple syrup

Preheat oven to 350°F

Follow your package instructions for cooking the quinoa. (Typically you combine both the water and quinoa in a pot, bring to a boil and then reduce heat to medium-low and cover; cooking for 12-14 minutes. Unlike rice, you can remove the lid and check on the moisture level during cooking.) Combine the flax meal and water in a small dish and set aside. In a skillet over medium heat, add a little water and the chopped onions. Cook until the onions become translucent. Add garlic and toss to combine. Add diced tomato, tomato paste, salt, pepper and fresh thyme. Let simmer for 5-7 minutes, stirring once or twice. It may be necessary to turn the heat down to low as well.

Place the cooked quinoa in a large bowl, and pour the tomato mixture on top. Stir well to combine. Sprinkle almond meal over mixture and pour flax egg on top. Stir again. Lastly add fresh chopped parsley and gently toss to incorporate.

Line a baking sheet with parchment paper, to avoid using oil and to prevent quinoa balls from sticking. Scoop out the mixture using a cookie scoop or large spoon, and make approximately 24 balls. Bake in the preheated oven for 10-15 minutes, or until the balls begin to firm up and become golden brown on the edges.

Serve over a bed of your favorite greens – fresh or steamed will work! I topped mine with fresh cut carrots and a diced apple. I also drizzled with some balsamic glaze. (You can quickly make your own glaze by heating 1 cup of balsamic vinegar in a saucepan with 2 tbsp. maple syrup. Cook on medium heat until the liquid starts to thicken, but remove before it gets too thick, as it will continue to thicken when removed from the heat. It should take less than 5 minutes. Use immediately on this recipe and store the rest in an airtight container in the fridge for future use. Lasts for about a month.)

This slideshow requires JavaScript.