Archives for fall

Kandy Korn Kupkakes

The only thing REMOTELY candy corn about these, are the colors. 🙂 I don’t want to be misleading here and have people thinking candy corns are hidden in the crust. It was just a fun Halloween treat I made this year and there is some bad-for-you stuff in them! I try to do something new each year!

IMG_7465

Crust
1/4 c. pecans
1/4 c. Annie’s Bunny Graham Crackers
1/2 c. pitted Medjool dates

Cheezecake Batter
1 can full fat coconut milk, refrigerated for 24 hours
1/2 pkg. Daiya Cream Cheese Spread
1/4 c. powdered sugar
1 tbsp. vanilla extract
2 tbsp. fresh lemon juice

Pumpkin Cheezecake Batter
1/2 c. canned pumpkin puree
1/4 tsp. pumpkin spice

For the crust, pulse the pecans and graham crackers in a food processor until crumbly. Add the pitted dates and process until sticky and well combined; about 1-2 minutes depending on your processor. Using a muffin tin, lined with paper muffin cups, scoop about a tablespoon of the crust into each cup. Press into bottom using your fingers to form a firmly packed crust. (I did some tests with saran wrap and the paper cups worked much better!)

IMG_7458

My original goal for the cheezecake was to use only the thick cream part, like my peanut butter whipped cream, but this can didn’t separate!  So, I ended up using the whole chilled can. If you can get the coconut water and coconut cream to separate however, I would use 2 cans since it produces less filling. Beat the cream cheese first in your standup mixer, and slowly add the coconut milk or cream a little at a time. Once they are both together, beat on high or medium high for about 2 minutes. You want it to get fluffy and whipped cream-like!

Slow the mixer speed to low and add the powdered sugar. Add the vanilla extract and lemon juice, once incorporated, stop the mixer and taste test. If there are cream cheese clumps, be sure to use an immersion blender to remove the lumps! Smooth texture is key. 🙂

Pour a little more than half the batter into a small bowl. Add the canned pumpkin and spice to the mixer and beat on med low until well combined. Spoon canned pumpkin onto each muffin cup crust. Place in freezer for about 30-60 minutes to set. Meanwhile, refrigerate the plain cheezecake batter.

IMG_7461

Once the pumpkin layer has set, spoon out the plain cheezecake layer onto the pumpkin layer. Place back in the freezer and allow to set for an additional 30 minutes. Store in freezer until ready to eat.

IMG_7462

These turned out really well for a first time experiment! Have fun and play with the flavors and colors too! You can make a berry blend with strawberry and blueberry for the summer – get creative!

IMG_7466

Homemade Applesauce

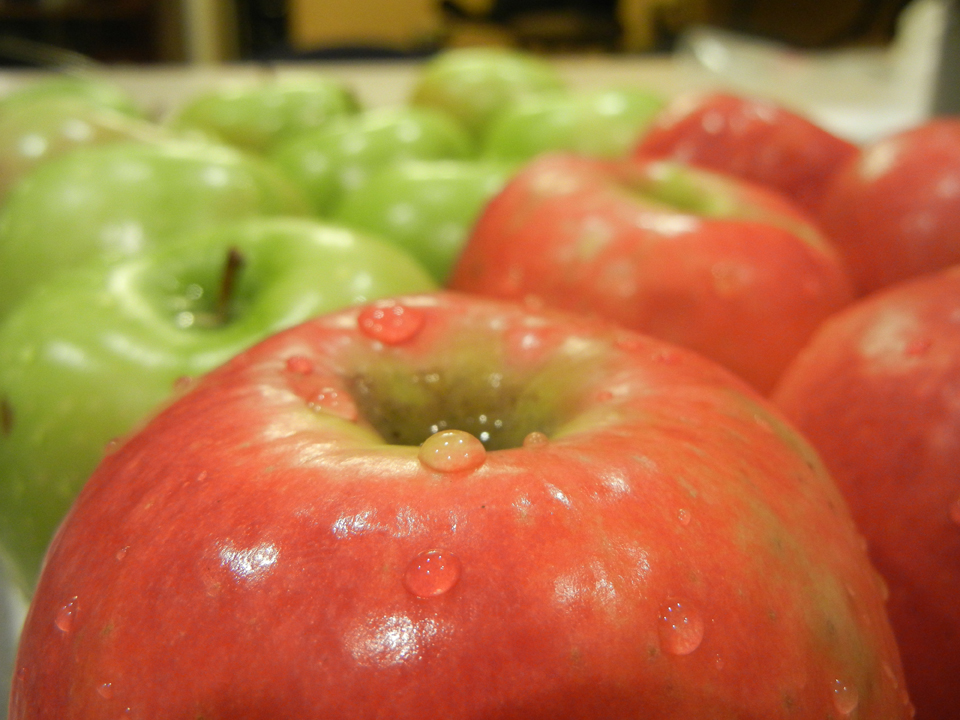
apples close-upHomemade applesauce is something you don’t appreciate until you try. Every single person’s reaction is the same when I tell them I make it from scratch, “Why don’t you just buy it?” Well, in short, because it tastes like watered down, bland mush. Homemade applesauce is so flavorful and creamy you will never go back to store-bought again. Growing up, my mom always made homemade applesauce. The whole house would smell of delicious baking apples and every burner on the stove would be used to slow cook the apples. We would have a freezer shelf dedicated to bags of frozen applesauce. It was amazing.

When I grew up and moved out of state – I craved that homemade applesauce. I called my mom and asked her how to do it, and where to get that upside-down pyramid thingy with the holes in it. I never knew what it was called, and neither did she, until I posted this recipe 4 years ago and got a comment from a reader! It is called a chinois, and you can order it on Amazon. Not knowing the name originally, it was a stroke of luck I found the one I did 15 years ago. It was tucked on the top shelf of a kitchen gadget store at the mall, covered in a layer of dust. I’m not even sure the clerk knew they sold it, but it was EXACTLY what I was looking for and the exact tool my mom used growing up.

Beautiful Homemade Applesauce

Beautiful Homemade Applesauce

Literally, the ONLY ingredients in my version of homemade applesauce is apples and a tablespoon of water. I’ve experimented with a variety of apples over the years and the best flavor is a half and half mixture of Granny Smith and a sweet, red-skinned apple. I usually buy whatever looks best or if I know the grocery store has received a good batch, based on ones I’ve recently purchased. For the recipe pictured below, we used 12 Granny Smith and 12 Pink Lady. Be sure to buy organic apples whenever you buy or eat apples, since they are one of the most pesticide ridden fruits on the shelves.

Ingredients

12 organic granny smith apples, washed, cored and sliced into 6 pieces
12 organic pink lady apples, washed, cored and sliced into 6 pieces
A little water

You will also need:
An apple corer/slicer
A chinois

Instructions

Wash all the apples very thoroughly and remove all stickers. Use an apple slicer to simultaneously remove core and cut apples. Toss into a large stock pot until full. Add 1-2 tablespoons of water and cook on low-med heat, covered for approximately 3 hours. I set a kitchen timer for 20 minutes and stir every 20 minutes to prevent scorching or burning on the bottom. About an hour or so into cooking, you will want to turn the heat down to the lowest setting. If you find that the apples aren’t producing much condensation or juice, you can add another tablespoon of water to speed the process along. Be sure not to add too much water, because you want the apples and juice to produce a flavorful sauce.

Once the apples are extremely mushy and the skins are falling off the pulp, they are ready to rice. I use one large stock pot as the ricer pot and one large stock pot as the mushy apple pot. Simply scoop the mushy mixture into the ricer and push through the tiny holes to remove the bulk of the pulp and all of the skins. That’s it!!

Homemade applesauce freezes great! I’ve also canned it for the pantry successfully too. It’s great to use in baking as a replacement to butter, oil or eggs and great as a snack or side dish. You can add a little cinnamon and/or nutmeg to yours if you’d like. Enjoy nature’s natural dessert!

This slideshow requires JavaScript.