Archives for apples

Quinoa Balls with Lettuce, Apples and Carrots | Drizzled with Balsamic Glaze

My brain has been overflowing lately with recipe ideas. I started jotting them down in a notebook that I carry with me everywhere and it seems to be helping. My perpetual problem however, is the lack of productive hours in a day in which to make these recipes come to life. If the body didn’t need sleep, I’d be GOLDEN. But alas it absolutely DOES need sleep and I don’t buy into the YOLO (you only live once) and ISWID (I’ll sleep when I die) acronyms the “kids” are using these days. So, unless I invent some cool way to be productive with no sleep at all, I’ll have to simply keep my eye on my 2013 goal.

BE EFFICIENT!

As I discovered at the start of 2013, I cannot simplify – it is not in my DNA and it just doesn’t feel RIGHT. There is only one life we live and I want to live mine to the fullest and be as happy as I can be; which includes learning as much as I can, sleeping as much as I need to, and experiencing as much as I can. So, in my pursuit of a full and productive life I strive to be more efficient! One of the ways I’ve learned to do this, is to tuck recipes away in the DRAFTS section of my blog so I can pull them out of my back pocket when those pesky too-full days (or weeks) pounce on me! So without further ado, here is an oldie but goodie from the Zucchini Runner draft vault.

Added some diced apples

Quinoa Balls with Lettuce, Apples and Carrots drizzled with Homemade Balsamic Glaze

3/4 c. dried, rinsed quinoa
1 1/2 c. water
1 medium onion, chopped into small pieces
2 cloves garlic, pressed
1 medium tomato, diced small
2 tbsp. tomato paste
Chopped fresh thyme to taste
Salt and freshly ground black pepper
2 tbsp. almond meal
2 tbsp. ground flax meal + 6 tbsp water (flax egg)
1/3 c. fresh parsley, chopped

Balsamic Glaze (optional)
1 cup balsamic vinegar
2 tbsp maple syrup

Preheat oven to 350°F

Follow your package instructions for cooking the quinoa. (Typically you combine both the water and quinoa in a pot, bring to a boil and then reduce heat to medium-low and cover; cooking for 12-14 minutes. Unlike rice, you can remove the lid and check on the moisture level during cooking.) Combine the flax meal and water in a small dish and set aside. In a skillet over medium heat, add a little water and the chopped onions. Cook until the onions become translucent. Add garlic and toss to combine. Add diced tomato, tomato paste, salt, pepper and fresh thyme. Let simmer for 5-7 minutes, stirring once or twice. It may be necessary to turn the heat down to low as well.

Place the cooked quinoa in a large bowl, and pour the tomato mixture on top. Stir well to combine. Sprinkle almond meal over mixture and pour flax egg on top. Stir again. Lastly add fresh chopped parsley and gently toss to incorporate.

Line a baking sheet with parchment paper, to avoid using oil and to prevent quinoa balls from sticking. Scoop out the mixture using a cookie scoop or large spoon, and make approximately 24 balls. Bake in the preheated oven for 10-15 minutes, or until the balls begin to firm up and become golden brown on the edges.

Serve over a bed of your favorite greens – fresh or steamed will work! I topped mine with fresh cut carrots and a diced apple. I also drizzled with some balsamic glaze. (You can quickly make your own glaze by heating 1 cup of balsamic vinegar in a saucepan with 2 tbsp. maple syrup. Cook on medium heat until the liquid starts to thicken, but remove before it gets too thick, as it will continue to thicken when removed from the heat. It should take less than 5 minutes. Use immediately on this recipe and store the rest in an airtight container in the fridge for future use. Lasts for about a month.)

This slideshow requires JavaScript.

Homemade Applesauce

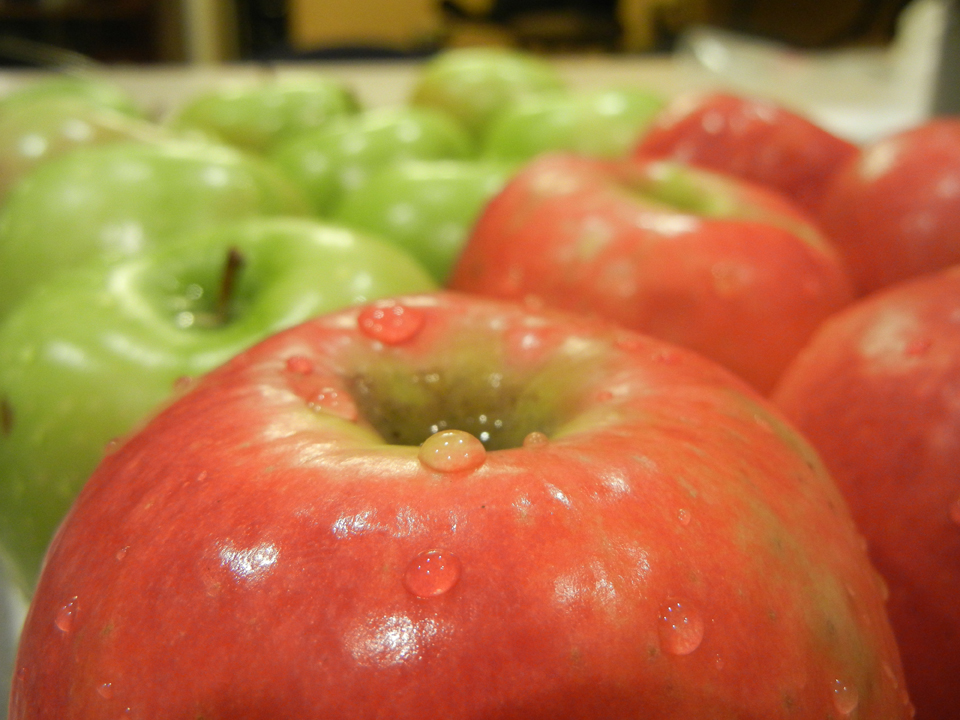
apples close-upHomemade applesauce is something you don’t appreciate until you try. Every single person’s reaction is the same when I tell them I make it from scratch, “Why don’t you just buy it?” Well, in short, because it tastes like watered down, bland mush. Homemade applesauce is so flavorful and creamy you will never go back to store-bought again. Growing up, my mom always made homemade applesauce. The whole house would smell of delicious baking apples and every burner on the stove would be used to slow cook the apples. We would have a freezer shelf dedicated to bags of frozen applesauce. It was amazing.

When I grew up and moved out of state – I craved that homemade applesauce. I called my mom and asked her how to do it, and where to get that upside-down pyramid thingy with the holes in it. I never knew what it was called, and neither did she, until I posted this recipe 4 years ago and got a comment from a reader! It is called a chinois, and you can order it on Amazon. Not knowing the name originally, it was a stroke of luck I found the one I did 15 years ago. It was tucked on the top shelf of a kitchen gadget store at the mall, covered in a layer of dust. I’m not even sure the clerk knew they sold it, but it was EXACTLY what I was looking for and the exact tool my mom used growing up.

Beautiful Homemade Applesauce

Beautiful Homemade Applesauce

Literally, the ONLY ingredients in my version of homemade applesauce is apples and a tablespoon of water. I’ve experimented with a variety of apples over the years and the best flavor is a half and half mixture of Granny Smith and a sweet, red-skinned apple. I usually buy whatever looks best or if I know the grocery store has received a good batch, based on ones I’ve recently purchased. For the recipe pictured below, we used 12 Granny Smith and 12 Pink Lady. Be sure to buy organic apples whenever you buy or eat apples, since they are one of the most pesticide ridden fruits on the shelves.

Ingredients

12 organic granny smith apples, washed, cored and sliced into 6 pieces
12 organic pink lady apples, washed, cored and sliced into 6 pieces
A little water

You will also need:
An apple corer/slicer
A chinois

Instructions

Wash all the apples very thoroughly and remove all stickers. Use an apple slicer to simultaneously remove core and cut apples. Toss into a large stock pot until full. Add 1-2 tablespoons of water and cook on low-med heat, covered for approximately 3 hours. I set a kitchen timer for 20 minutes and stir every 20 minutes to prevent scorching or burning on the bottom. About an hour or so into cooking, you will want to turn the heat down to the lowest setting. If you find that the apples aren’t producing much condensation or juice, you can add another tablespoon of water to speed the process along. Be sure not to add too much water, because you want the apples and juice to produce a flavorful sauce.

Once the apples are extremely mushy and the skins are falling off the pulp, they are ready to rice. I use one large stock pot as the ricer pot and one large stock pot as the mushy apple pot. Simply scoop the mushy mixture into the ricer and push through the tiny holes to remove the bulk of the pulp and all of the skins. That’s it!!

Homemade applesauce freezes great! I’ve also canned it for the pantry successfully too. It’s great to use in baking as a replacement to butter, oil or eggs and great as a snack or side dish. You can add a little cinnamon and/or nutmeg to yours if you’d like. Enjoy nature’s natural dessert!

This slideshow requires JavaScript.